Entity Selection

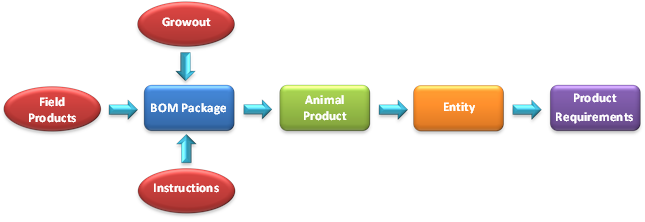
The MRP Entity Selection screen allows the user to select the entities
that will be used in the planning process which will determine the product
required throughout the life cycle of the entity. In order for the products
to be planned, the BOM
Packages must be assigned to the entity product. The BOM Package is
assigned to the product in General>Products>Animals>Poultry.
The Entity Selection document is comprised of the following components:
Select Entity for Planning
- In TMTS>TIM>Transactions>MRP>Planning,
select Entity Selection.
- Click the
 button
to select the profile to be assigned to the entity selection
button
to select the profile to be assigned to the entity selection
- Select the profile and click OK
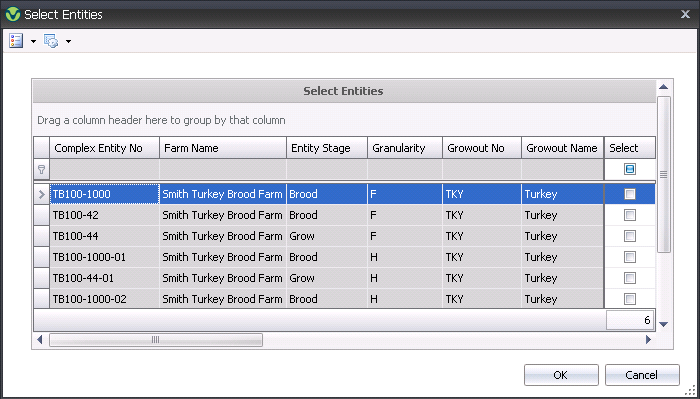
- To select a future placement, click or to select a current
entity, click on the drop-down menu on the New icon and select Current
Entities.
- Filter for the required entity and click the Selected
option. The Options>Select All
feature can be used to select all of the filtered entities.
- Click OK to select the entity.
- The TMTS TIM Material Resource Planning Entity
Selection screen will be displayed with a list of entities assigned
to the profile.
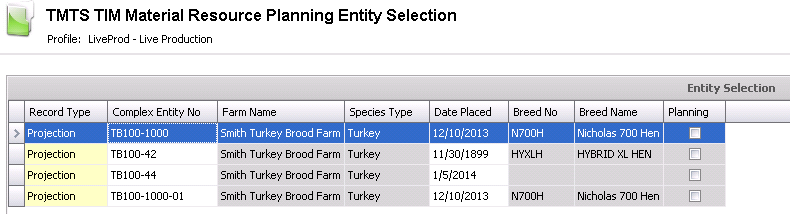
- Record Type
indicates if the entity is a current entity or a projected entity.
- Projection
- entity is sourced from TMTS>TPA>Planning>Movements.
- Actual
- entity is sourced from .
- Complex Entity
No displays the entity that has been selected for the profile.
- Farm Name
is derived from the selected entity.
- Species Type
is derived from the division assigned to the cost center for the farm.
- Date Placed
is the actual or projected placement date for the entity depending
on the source of the entity selected.
- Breed No
and Breed Name are derived
from the selected entity.
- The Planning
flag indicates if the Product Requirements
have been created for the entity. The planning record is created by
selecting the required entity from the Entity Selection index and
right-clicking to select Create Planning.
Additional Options
Within the main Entity Planning menu, there is an Options menu with
additional options:
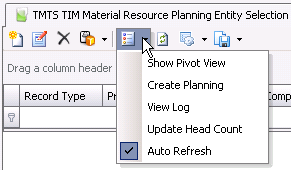
Create Planning
- Click the Options menu
 button
and select Create Planning.
button
and select Create Planning.
- When completed, the Planning flag will be selected.
See: Product
Requirements for more details.
Update Head Count
- Click the Options menu button
and select Update Head Count.
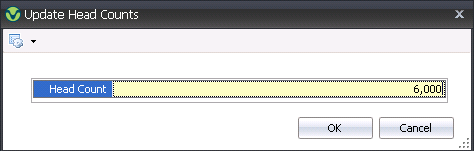
- In the Update Head Counts dialog box, enter the
new Head Count and then click
the OK button.