hatching calendar

The Hatch Calendar determines the supply from the hatcheries that will
be available to be placed in the field. The calendar has a view that displays
the supply in daily, weekly or monthly views with options for customizing
the view to the user’s requirements.
Create
a Hatching Calendar
The following components are outlined related to creating a Hatch Calendar:
- In TMTS>TPA>Planning
, select Hatching Calendar.
In the Hatching
Calendar main index, click the b button
to create a new record.
button
to create a new record.
In the Profiles dialog box, select the Profile No and then click 'OK'.
Details
- In the Hatch Calendar Details tab, click to
create a new line.
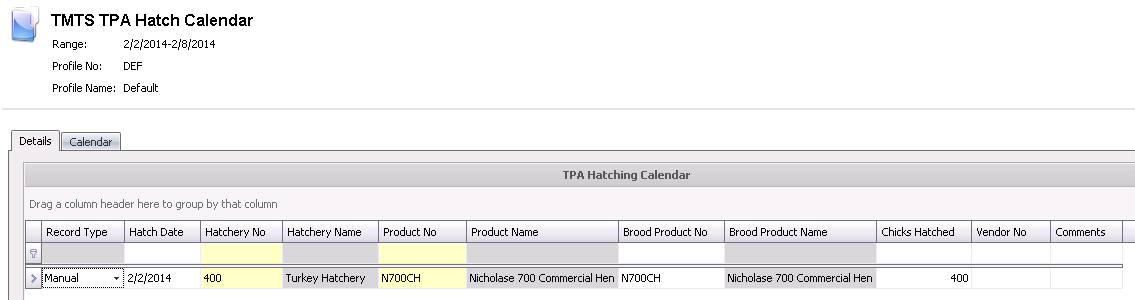
- Record Type
indicates the type of record being created and will default
to 'Manual'.
- Enter the Hatch
Date of the planned poults hatched. This will default with
today's date.
- From the Hatchery
No drop-down menu, select the hatchery where the poults
will be hatched.
- Hatchery Name
will default based on the Hatchery No.
- Product No
is an optional field to enter the product that will be hatched on
the specified date.
- Product Name
will default based on the Product No.
- In the Poults
Hatched field, enter the number of poults that are to
be hatched on the specified date for the selected product.
- Vendor No is
used if the poults are being sourced from an external supplier. If
applicable, select the vendor from whom the poults are being purchased.
- The Comments
field is used to enter any comments for the specified
hatch date.
- Save and close the record.
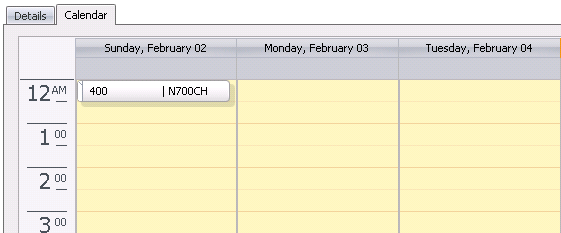
Calendar
The targets can be viewed in the calendar once they have all been created.
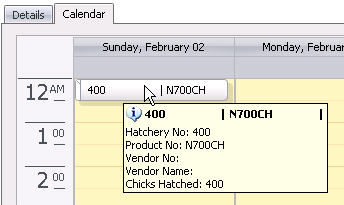
- By hovering over an Item, the basic information
can be viewed in a bubble.
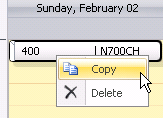
- Items can also be relocated by dragging and dropping
the item to a new day or time.
By right-clicking on the item and selecting
'Copy', the item can be duplicated by using the 'Recurrence'
option.
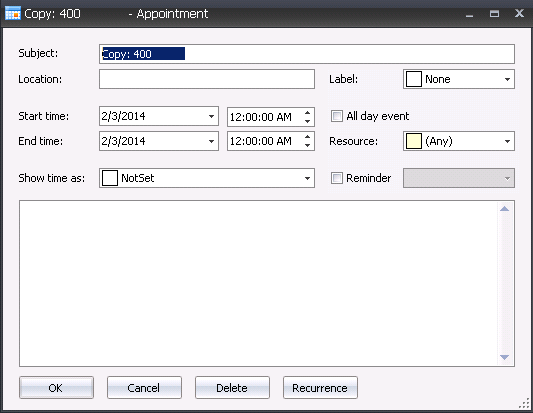
- In the Appointment dialog box, select 'Recurrence'.

- In the Recurrence
Pattern selection, select how the entry is to reoccur. Available
options include: Daily, Weekly, Monthly or Yearly.
In the Range of Recurrence section, enter the
Start Date.
Select the End
Date. Available options are: No end date, End after (x
amount of occurrences), or the End by date.
Click 'OK' and then in the Appointment dialog
box, click 'OK' again.
Save and close the record.
*Note:
The hatches will be the same as the record used to create the occurrences.