standard versions

The user must create a BPA standard for every breed that is to be projected.
The BPA Standards are independent from the BIM Standards. The standards
are created by breed, generation and effective date. The effective date
is based on the placement date of the entity.
Create
a Standard Version
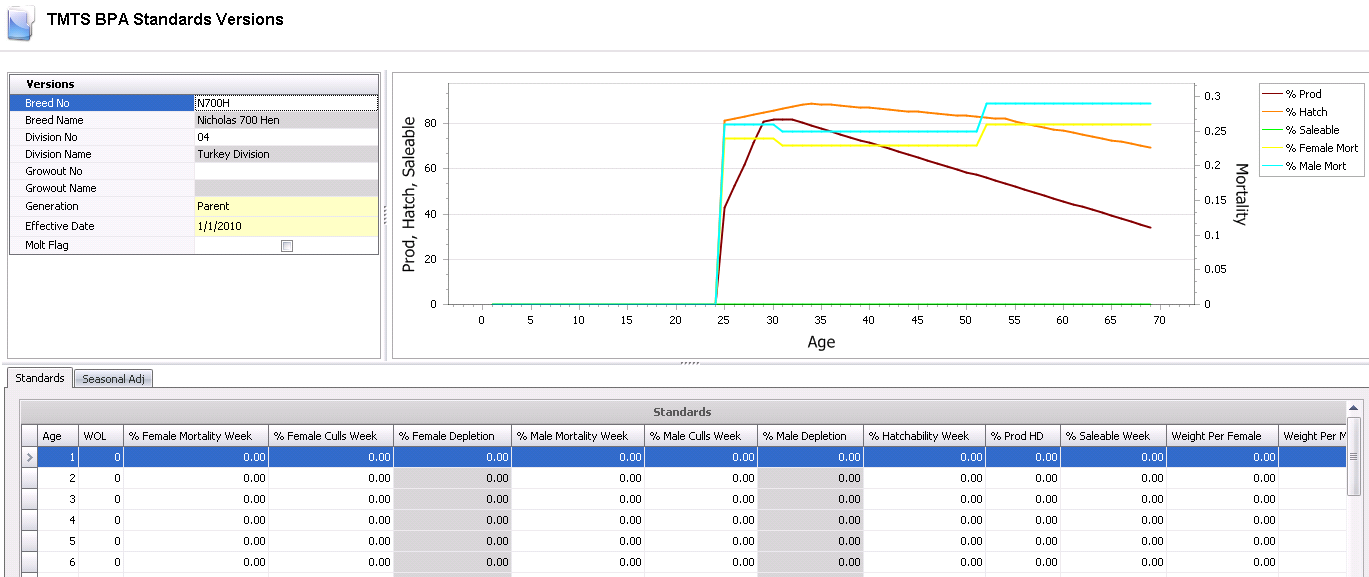
Sections inside Standard Versions include:
Versions
The Version section is used to define the breed that will be projected.
- In TMTS>BPA>Master
Data, select Standard
Versions.
- In the Standard Versions main index, click
the
 button.
- In the Standard Versions screen, click on the
Versions tab.
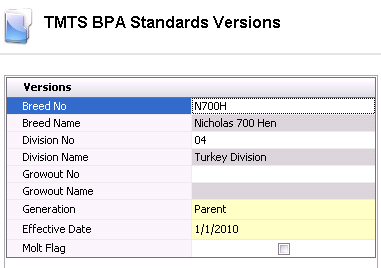
- From the Breed
No drop-down menu, select the breed for the standards that
are to be created.
- Breed Name
will auto populated from the Breed No selected.
- Select the Division
No for the breed that will be used.
- Division Name
will auto populated from the Division No that is selected.
- Select the Generation
of the breed.
- Enter the Effective
Date that standards will begin being used for projections.
- Check the Molt
Flag if the breed is for a molted flock.
Chart
The information in the chart will appear once all details are entered
in the Standards section. The chart shows weekly data for the project
hatch percentage, the projected percentage of hatching egg production,
the projected percentage of saleable chicks, the percentage of female
mortality, and the percentage of male mortality.

Standards
The Standards are entered by week of age for items that require projections.
- To create a standard, set the focus to the Standards
section and click the
 button.
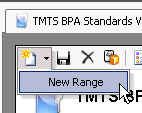
Standards can be entered one at a time or by using a range. To
enter a standard by an age range, click the drop-down menu on the
 button and select 'New Range'.
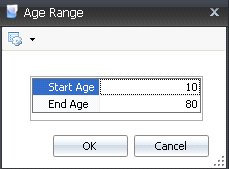
- In the Age Range dialog box, in the Start
Age field, enter the beginning age of the flock where standards
will be used to calculate projections. The age should start with '0'
or '1' depending on the registry switch. The switch is located in:
Growouts>PMTS Growout>BIM/LIM
Growout>Point of Lay>Point of Lay Base Mode for Week of Lay.
- Enter the End
Age of flock. This is usually the projected sale age.
However, an extra five to ten weeks can be added in case the life
of the flock is extended.
- Click 'OK' and the fields in the Standards screen
will default in.

- Age is
created when the new line or range is created.
- WOL is
derived from Breed Targets Point of Lay.
- In the % Female
Mortality Week field, enter the projected percentage of hen
mortality for each week.
- In the %
Female Cull Week field, enter the projected percentage of hen
culls for each week.
- % Female Depletion
is a calculated field totaling the hen mortality and culls.
- In the % Male
Mortality Week field, enter the projected percentage
of tom mortality for each week.
- In the % Male
Cull Week field, enter the projected percentage of tom
culls for each week.
- % Male Depletion
is a calculated field totaling the tom mortality and culls.
- In the %
Hatchability Week field, enter the projected hatch percentage
for each week.
- In the %
Prod HD field, enter the projected percentage of hatching egg
production for each week.
- In the %
Saleable Week field, enter the projected percentage of saleable
poults for each week.
- In the Weight
Per Female field, enter the projected hen body weight for each
week. This weight can be entered in metric or standards units of measurement.
- In the Weight
Per Male field, enter the projected tom body weight for each
week. This weight can be entered in metric or standards units of measurement.
- In the Feed
Per Female Week field, enter the amount of hen feed consumed
for each week.
- In the Feed
Per Male Week field, enter the amount of tom feed consumed
for each week.
Seasonal
Adj
The Season Adjustment tab allows the user to define seasonal adjustments
for percentage production in order to project the targets more accurately.
The adjustments are entered by week, starting with the first week of the
calendar year.
- To create an adjustment, set the focus on the
Seasonal Adj section and click the
 button. Weeks can be entered one at a time or by using a range.
To enter a standard by an age range, click the drop-down menu on the
 button and select 'New Range'.

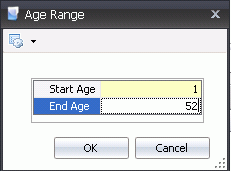
- In the Age Range dialog box, enter '1' in
the Start Age field.
This is for Week 1, the first week of January.
- In the End
Age field, enter '52', for week 52, the last week of December.
- Click 'OK' and the fields in the Seasonal Adjustment
section will default in.
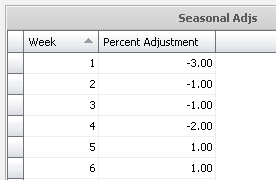
- Week is
created when the new line or range is created.
- Enter the Percent
Adjustment for each week as needed. These percentages will
adjust the hatching egg projections based on standards.
Menu
Options
Menu Options allows several ways of importing or exporting
standards rather than manually entering each line . Those Option are:

Load
Performance Standard
The Load Performance Standard has three options:
- Load Default
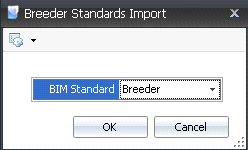
from BIM will import the standards from BIM. Select the
BIM standard that matches the Breed No.
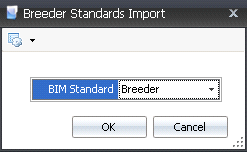
- Load Default
from BPA will import the standards from BPA. Select the
BPA standard that matches the Breed No.
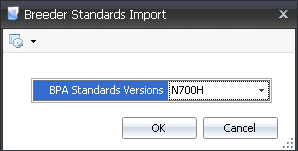
- Load System Default
Standard will import a system standard. There is no option
to choose a standard as there is only one.
*Note: Importing standards
will erase current standards.
Load
Ages
Load Ages will only create the age for the standards. All other
information will need to be manually entered.
Export
to BIM Standard
Exporting to BIM will export the BPA Standard to BIM Standards. From
the BIM Standards list, select the BIM standards to be replaced.


 button.

 button.
Standards can be entered one at a time or by using a range. To
enter a standard by an age range, click the drop-down menu on the
 button and select 'New Range'.


 button. Weeks can be entered one at a time or by using a range.
To enter a standard by an age range, click the drop-down menu on the
 button and select 'New Range'.


