![]()
Function groups are used to enable or disable access to specific functions
operated on each screen.
Table Name:
ProteinPermissionsFunctionsProfiles, ProteinPermissionsFunctionsScreens,
ProteinPermissionsFunctionsScreenMenus
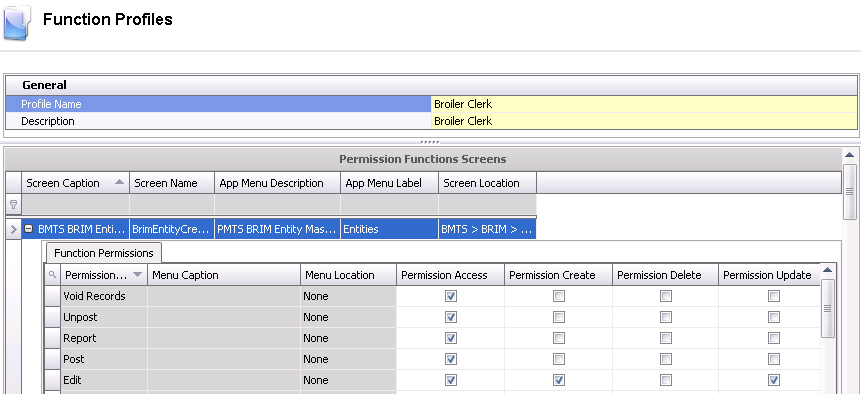
The following information is contained in the Function Profiles document:
 button to create a new function profile
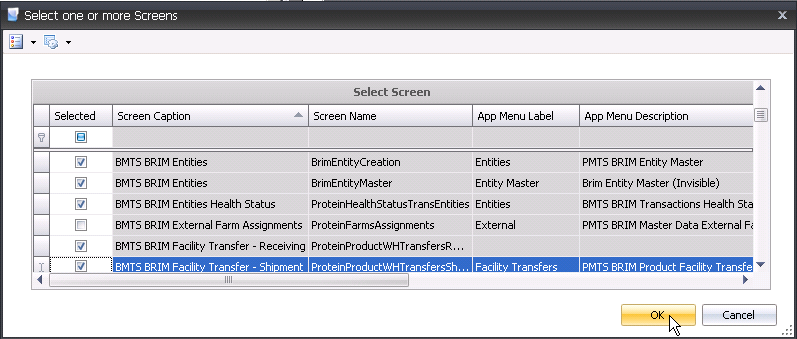
 to select screens.

The child grid within the Screen Capture field allows additional available functions for the screen.

The most common practice is to enable all the functions for every screen and disable specific functions as needed. In order to edit function profiles in any screen throughout the system, the following can be done.
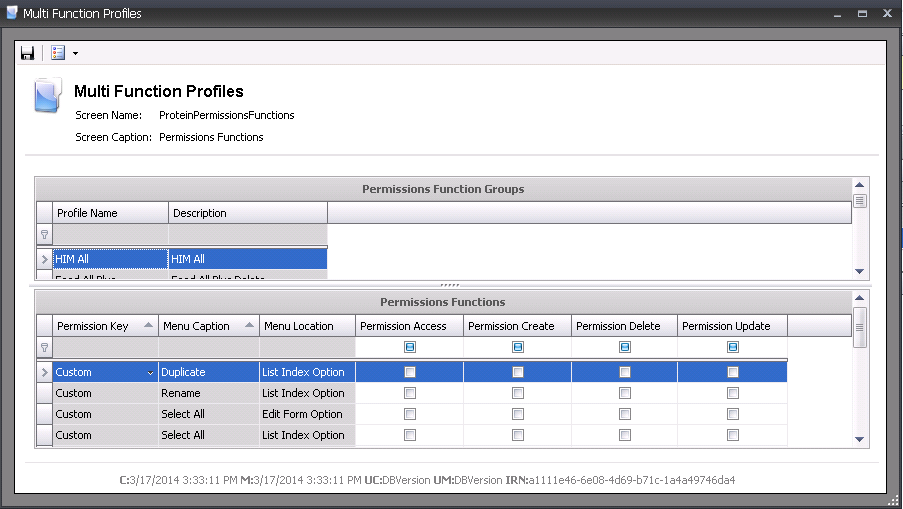
In the transaction screen, select the Settings drop-down menu and click Edit Function Groups.
The
Function screen is split into two sections. The top section will display
all available function groups, and the bottom section will display
all available functions for the screen. Select and disable as required
and then click the Save  button.
