Routes

Map Routes are used to map out a route for a delivery or pick up.
Table Name: ProteinMapRoutes
Prior to creating a map route, the following must first be created:
Create a Route
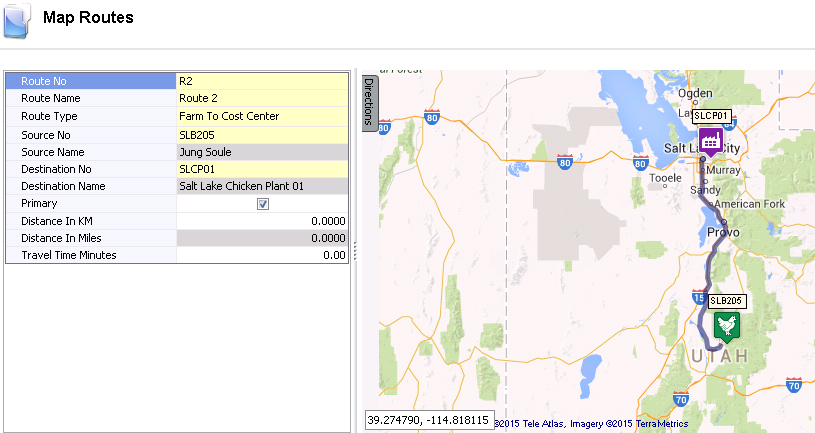
The Map Routes section is used to enter the basic details related to
the route between source and destination facilities. The map portion will
default in with source and destination graphics to illustrate the route.
The Routes document contains the following sections:
Map Routes
In Admin>Business>General>Maps,
select Routes.
Select the  button to create
a new record.
button to create
a new record.
Enter a Route
No to identify the route. Alphanumeric, max 20 characters
- Enter a Route
Name to describe the route. Alphanumeric, max 255 characters
- Select the Route
Type. Available options are: Cost Center to Cost Center, Cost
Center to Farm, Farm to Cost Center and Farm to Farm.
- From Source No,
select the source, from where the route will leave.
- Source Name
will default in.
- Select the Destination
No, where the route ends.
- Destination Name
will default in.
- The Primary
flag will be selected by default. De-select if this is not the primary
route.
- Enter the Distance
In KM between the source and destination.
- The Distance
In Miles will default in.
- In the Travel
Time Minutes field, enter the total travel time from source
to destination, in minutes.
- To map the route, select the Source
No in the map and right-click to select Directions>Directions
from Here.
- Select the Destination
No in the map and right-click to select Directions>Directions
to Here.
- The route will be displayed on the map.
Details
The Details section allows the user to
define a custom route.
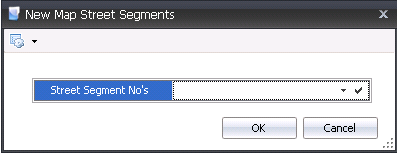
Click the button to add
a new detail line. The New Map Street Segments dialog box will appear.
From Street
Segment No`s, select the street segment.
- Sequence indicates the...
- Street Segment No identifies the
street segment.
- Street Segment Name displays a description
of the street segment.
- Street Segment Start Latitude indicates
the starting latitude for the segment.
- Street Segment Start Longitude indicates
the starting longitude for the segment.
- Street Segment End Latitude indicates
the ending latitude for the segment.
- Street Segment End Longitude indicates
the ending longitude for the segment.
- Street Segment Distance indicates
the distance of the segment.
- Select
the Street Segment Attribute No.
- Street Segment Attribute Name will
default in with a description of the street attribute.
