
The Entities profile selects the existing entities that will be projected. When selecting the entities, the entities can be selected individually or filtered and selected in groups. The Entities must be created and set up in BIM prior to being selected. Multiple profiles can be created for different scenarios.
 button
to create a new entity profile.
button
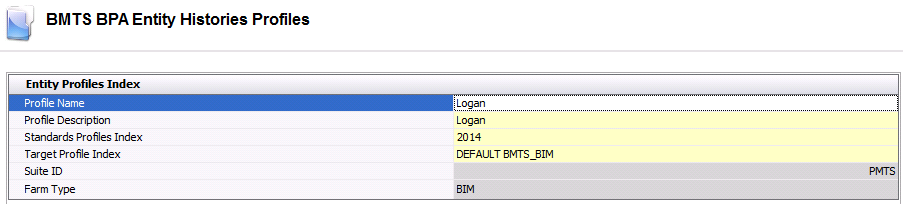
to create a new entity profile.Enter a Profile Name to describe the profile.
Select the Standards Profiles Index from the list. This option identifies the Standard Profile that is to be associated with the Entity Profile. *Note: Entity History will only consider the Standard Profile attached to the Entity Profile.
Select the Target Profile Index from the list. This option identifies the Breed Target that is to be associated with the Entity Profile. *Note: Entity History will only look at the Target Profile attached to the Entity Profile.
Suite ID is derived from the suite that is being utilized and identifies the suite.
Farm Type is derived from the suite being utilized and identifies the farm type.
Set the focus in the Entities section and click
thebutton to create a new entity.
In the Entities History Entity Selection Prompt, click on the Selected box for all that apply to the profile being created. Click 'OK' and the information will be added to the Entities section. All data fields will be populated based upon the entity selections. The data is derived from Entities in BIM.
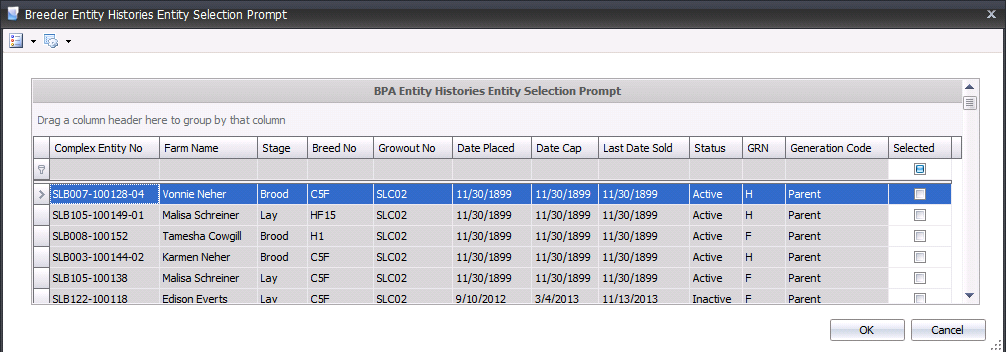
Generation Code indicates the generation of the birds is populated based on the breed selected.
Growout No is populated and derived from the Farm setup in BIM.
Granularity displays the operating level of the system.
Status indicates if the entity is active, inactive or closed.
